Pinot Grigio Sage Jelly

My lovely friend Rachel has kept my fridge stocked for years with what we all simply call “Grandma’s Jelly”. The ruby red strawberry jelly is a delicacy to us. Every year Rachel’s grandma makes strawberry jelly and I have been lucky enough to receive plenty. The deal is, you can’t get a fresh jar of jelly unless you return your empty jar. I have gotten a peek at the family recipe but was sworn to secrecy. I always enjoy making jams and jellies in the fall and was trying to think of something totally different. While washing dishes and staring out my kitchen window I found my inspiration…my herb garden.
This recipe is definitely not grandma’s jelly. Instead of using fruit, I’m using wine. While this jelly definitely has my spin on it, the old soul in me was inspired to create something that could utilize the enormous amount of sage in my garden. Thyme would be fantastic in this recipe too.

This is not an expensive recipe to make, so make sure you spend a little extra on a nice bottle of wine. Pinot Grigio is the main ingredient, and it’s best if you select a Pinot Grigio that you enjoy drinking. If you don’t care for the taste of the wine when it’s in your glass, you won’t like the way it tastes from your jelly jar either.

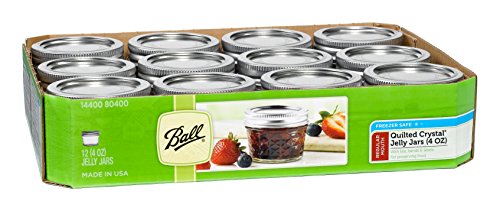
have all of your canning supplies organized before you begin making jelly.

Pinot Grigio Sage Jelly
Yield: 12 - 4 ounce jars
3 ½ cups Pinot Grigio
½ cup lemon juice
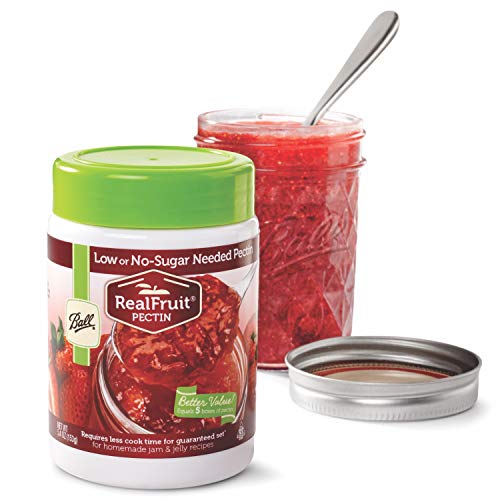
6 tablespoons pectin
4 ½ cups sugar
½ cup sage, chopped
Cook the jelly: Combine the Pinot Grigio, lemon juice and pectin in a large saucepan. Bring to a boil and stir frequently to keep the pectin from becoming lumpy.
Once the mixture boils, lower the heat and whisk in all of the sugar. Increase the heat until the mixture comes to a rolling boil. Maintain the rolling boil for one 1-2 minutes and continue to stir constantly. If the top of the jelly looks foamy, skim off and discard the foam with a spoon.
Fill the jars: Sprinkle some sage in each empty jar. Use a ladle and a canning funnel to fill each jar leaving ¼ inch headspace. Wipe the rims of the jars clean after filling. If there is jelly on the rim, the lid will not seal. Loosely close each jar with a lid and band. Don’t tighten the bands until the jars have been processed.
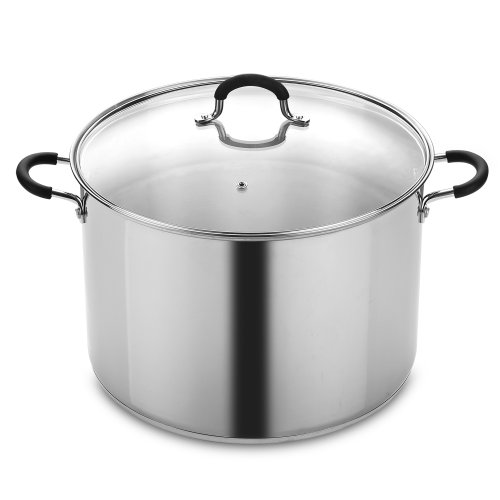
Process the jelly: Lower the jars into the canning pot so they are completely submerged in the boiling water. There should be at least 1 inch of water above the jars. Boil for 10 minutes. Remove the jars from the canner and cool at room temperature. This is when the lids will start making a popping sound as they finish sealing. Once the jars are completely cool, gently tighten any loose bands. Store in a cool dark place for up to 1 year.
Not interested in processing the jelly? The completed jelly can be kept in the refrigerator for up to two weeks. You can also keep the jelly in the freezer for up to 1 year.